The Garden
Public Discussion Group
Public Discussion Group
Active 2 hours ago
Freesteading group focused on the discussion of gardening.
Public Discussion Group
Organizer:
- Organized by
-
-
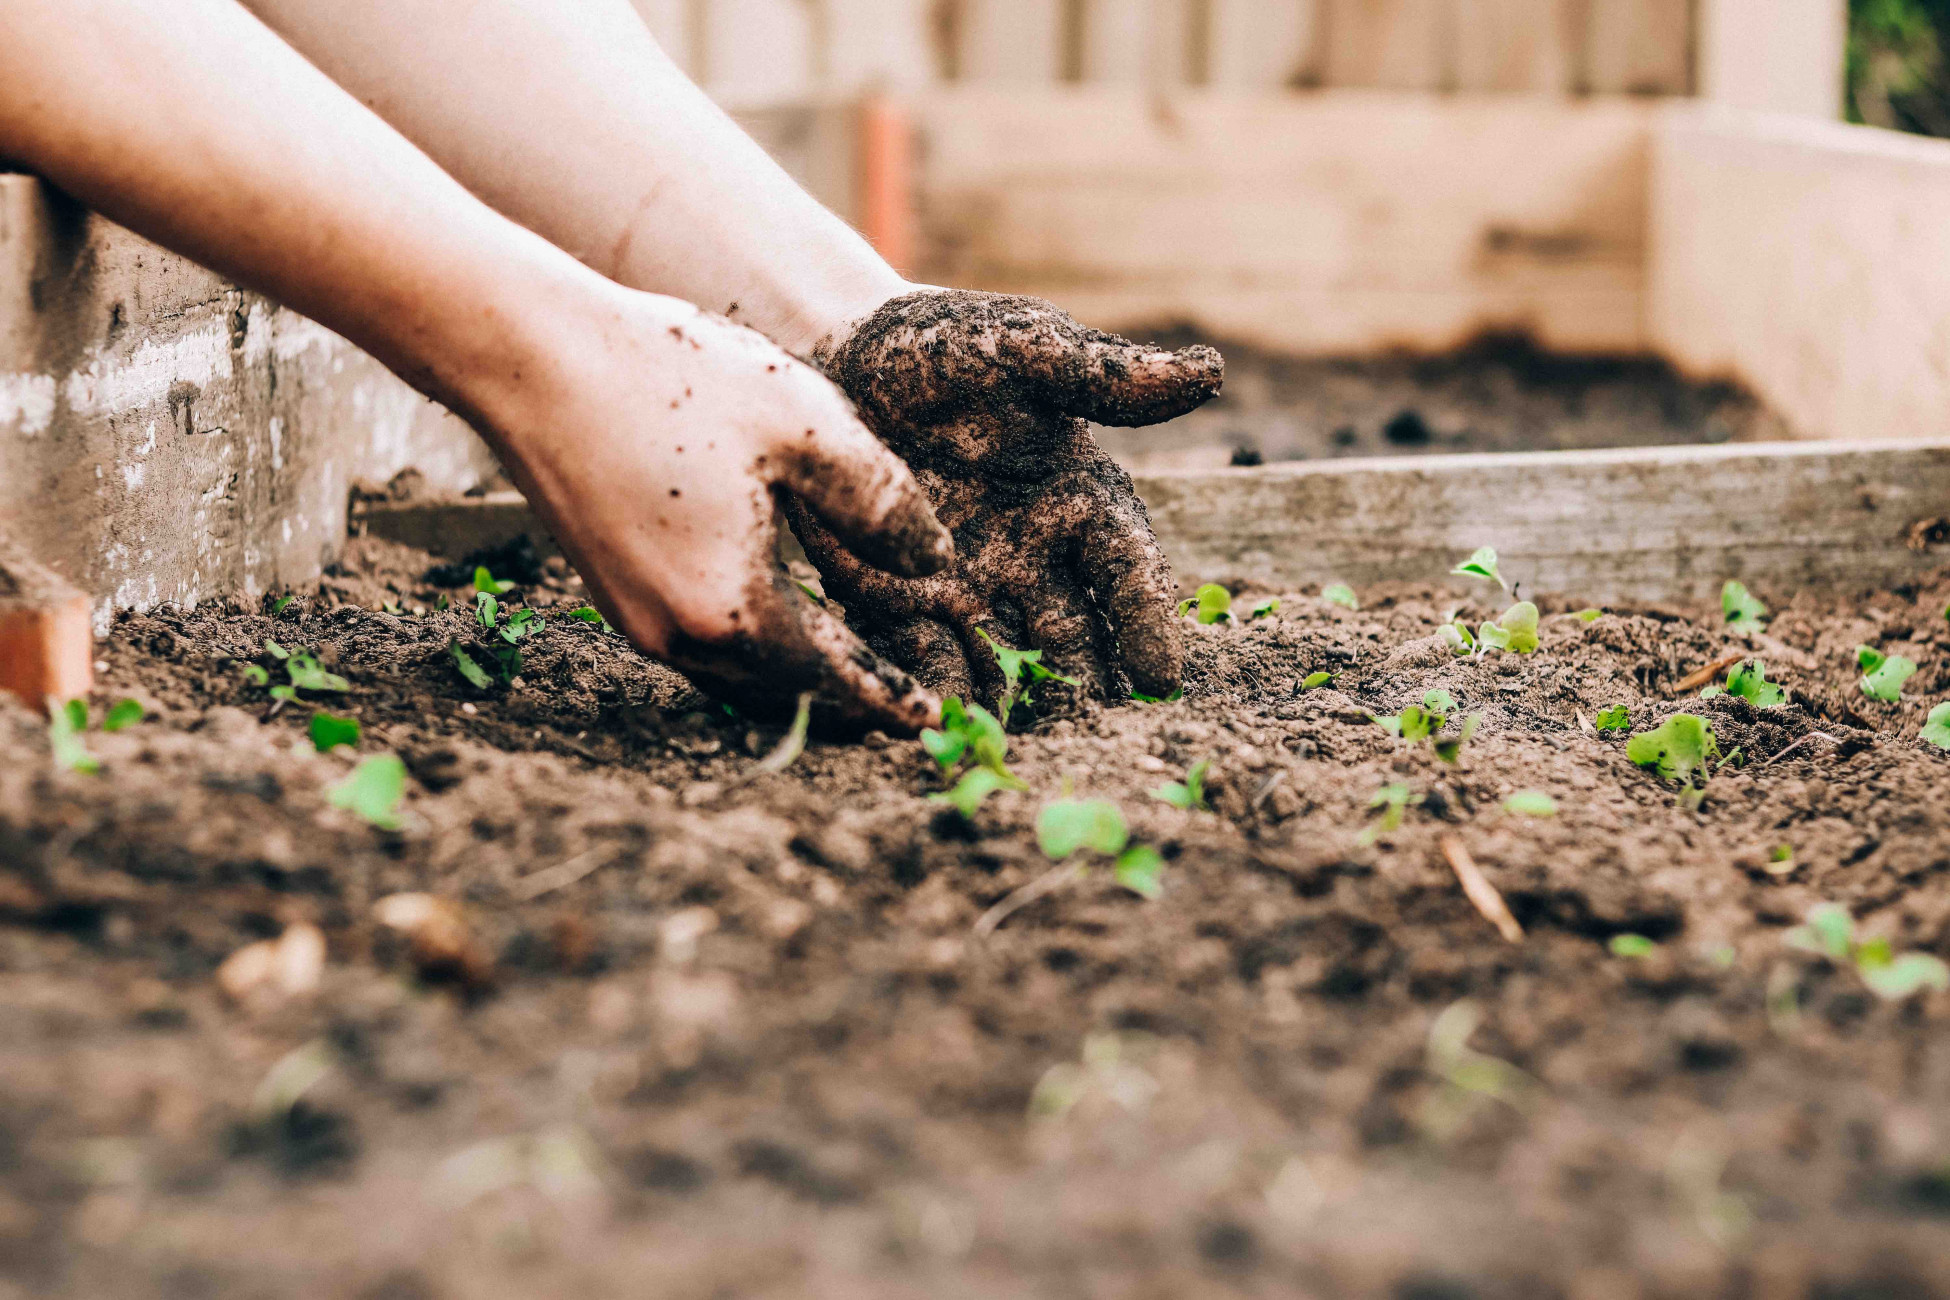
Growing in Tubs / Containers
-
Growing in Tubs / Containers
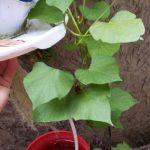
Posted by OKGardenerRobin on September 17, 2022 at 8:49 pmIs it safe to grow in heavy duty storage tubs? Looking at Project Source brand at Lowe’s for using as container gardening. Don’t want to buy if they are not safe. I really want 25 gallon container pots heavy duty plastic, not having luck locally to find them.
palletgardener replied 1 year, 1 month ago 18 Members · 28 Replies -
28 Replies
-

I do a lot of container gardening. My back will not let me do in ground planting so I use different kinds of containers. The three I had/are using are muck bucket. stock tank and grow bags.
Believe it or not the grow bags (be careful of the fake ones) have lasted the longest. I included a link to the ones I use. Been using mine for 6 years now and they are still holding up. Pack the soil in hard and it does dry up quicker.
Plastic buckets fall apart after a year or 2. Plastic and sun do not get along. I don’t use these any more.
My favorite –> I usual can find old stock tanks from around the farmers/ranchers here for cheap. As long as the sides are sturdy you don’t need a bottom on them. hey come in different sizes too. If you get the higher ones I suggest using the Hugelkultur method to fill them up initially. Then just add more soil each year when the level starts to drop.
Sorry for all the writing here. I know you had a simple question. 🙂
https://www.amazon.com/stores/node/24088082011?ie=UTF8&field-lbr_brands_browse-bin=Smart+Pot

-
This reply was modified 1 year, 7 months ago by EmmaB.
-
I have a stock tank that i have used for my aquaponics for years, just don’t grow bananas in them as the banana roots will crack the sides of the tank 😉 I had a friend find that out the hard way. But I also use IBC containers that I cut in half, paint them so the sun won’t destroy them, and set them up on cement blocks for waist high gardening.
-
Thank you for your suggestions they are all great!
We do have the stock tanks like you show, I guess I forgot to mention these containers are to go in our greenhouse. So, we wanted some smaller (but not too small) that after soil is added they won’t be too heavy for two of us to move. I like the blue one you showed as well. I used to use those for my kids toy boxes when they were young. LOL!!
-
This reply was modified 1 year, 7 months ago by
-

We use sub-irrigated double 5 gal buckets for all of our tomatoes, squash, and peppers. Currently, we have around 250 sets. Some of them are 4+ years old and are still in good condition. We did have some early failures of the yellow “Homer” buckets from Home Depot. About 3 years ago, we started purchasing food safe, preferably, black ones manufactured by Argee from Home Depot. They have held up great so far. We just purchased a high tunnel and plant to outfit it with more buckets (around 100-200). I used drip irrigation for watering the buckets. Works great.
-
This reply was modified 1 year, 7 months ago by Private_Cluck.
-
I used to do the Larry Hall system “Rain gutter grow system” for years the bucket systems are amazing.
-
I was sold on the sub-irrigated double bucket system when my wife did an experiment. She planted some tomatoes in a single bucket with drain holes and some in the double buckets at the same time. Then cared for each exactly the way – watering, feeding, etc. The ones in the sub-irrigated buckets ended up triple the size of the ones in the single bucket and produced far more tomatoes. That blew me away. Since, that’s all we use for tomatoes, peppers, squash, broccoli, cabbage, cauliflower, cucumbers, and such. We’ve been doing this for 3-4 years with great success. We do have some raised beds as well for our beans, peas, and root crops like carrots and potatoes.
-
-
Great recommendations, thank you for sharing with me.
-
This reply was modified 1 year, 7 months ago by
-

When I was in a rental and couldn’t plant in the yard, I would get the 5 gallon pickle buckets from a local deli, drill holes in the bottom and use those to grow in. They lasted about 3 yrs before breaking apart but were food safe, good for 3 yrs use and free to get.
-

Yes it is perfectly safe. I will say though if you’re wanting to use the 25 gal tubs. You’ll want to make absolutely sure you have them exactly where you want them. At the height you want them etc etc. Once they are filled with soil, they get mighty hard to move. Not impossible, but heavy enough that you’ll want/need some equipment to get the job done.
I personally have raised beds, tubs, barrels (cut in half) and even old ibc tote that was no longer viable to hold water..
I know a lot of folks get worried about certain products. I’m not one Of them. As far as I’m concerned, if it can hold soil, you can grow something in it.
-
Yes, I have started trees in 55 gal barrels cut in half, it can be a real chore getting them out after they have been there for a while.
-

I’m the same way! If it’ll hold soil and let out water, it’s good to go in my book. Gardening can get super expensive really quick I cut corners when and where I’ve learned I can 😊
-
I did purchase the 27 gallon heavy duty totes from Lowes. They are rectangular and made from the same material that the heavy nursery pots are.
We are building a greenhouse right now and these are to go inside of that for growing over the fall and winter months as well as preparing for spring & summer. Our summers can get really hot and dry with the crazy winds. It was rough this year on my raised beds outside, so we wanted more protection and control.
Thank you for your feedback it helps to hear what others are doing. This site is great for beginners like myself.
-

i have seen people garden in cardboard boxes. they surround them with chicken wire
-
-
-

We have a local transfer station (recycling and trash collection) and they get in the large protein tubs used for livestock when they’re empty, as a #2 plastic. They are free, and I’ve got probably 8 or 10 that I use for various purposes around here. They are the same size as a muck bucket.
-

Same here just to show children you can grow your own food in small spaces.
-
I grow a large amount of food in sterilite storage containers, feed containers, tubs from walmart, 5 gallon buckets, and just about any large container I can. They all do well, but the sterile containers only last about 4 years. Make sure you have them in place, because not only are they heavy, but the cheaper containers will tend to crack after a few years. One more idea for you – Walmart will sell their used deli buckets for $1 each. These come in 2, 3, and 5 gallon sizes. You may only be able to get 3-5 at a time, but it saves a ton of money.
-
I do a combo of planting in grow bags I make and also use the Kratky method of hydroponics in grow towers.
I have made my own grow bags with a sewing machine.
-
I have some of the grow bags as well, but not sure if I like them or not. My tomato plant hasn’t done very well in one, so maybe starting over with a 5 gal bucket next time.
-

We used grow bags for the first time and we weren’t happy with the results. We also built some raised beds and had wonderful results.
-
-
-

I’m using non paper feed bags. Fold them down so they are half the height. Seems to be working well. Potatoes and onions so far.
-

I use the water troughs. I’ve had them for years. I wanted to expand this year, but they’ve tripled in price. Makes it maddening!
-
i use the galvanized water troughs also, i do not like the way they heat up and need watered a lot. I have wood in the bottom as a type of raised bed hugelkulcher.
-
-

Hello @Bright_Sunday , my husband, @Private_Cluck , asked me to post the information about the sub-irrigated buckets we grow in.
A little background on how we started growing in buckets – when we bought our property we wanted to start a garden but were busy working on our house and had little time to work on putting a full scale garden. I did want to plant some tomatoes so started with drilling some drainage holes in the bottom of some 5 gallon buckets and planting in them. That worked fairly well but there were some issues that I wanted to resolve:
1) Fire ants kept coming up through the bottoms of the buckets and creating colonies, not fun! And didn’t want to treat them since I was growing food so had to be careful when picking the fruit and pruning the plants.
2) The soil was drying out too quickly. I was still working full time so would get up early in the morning and water the buckets but by the time I got home in the evening our hot Texas sun had dried out the buckets. I would water thoroughly again but it took a while to get each bucket watered as the dry soil had pulled away from the bucket sides and the water would run down the sides and out the bottom of the buckets for a while until I could get the soil moist enough to expand enough.
3) With the inconsistency of the moist and dry soil, the tomatoes would often get cracks in them.
I did some research and came across the concept of sub-irrigated containers in which there is a water reservoir at the bottom of a growing container. My first thought was wouldn’t my plants get root rot from growing into the water. I then found some information about the importance of having an 1″ of air space between the water reservoir and the soil level with only a wicking mechanism that set in the water. The air space is critical to prevent the root from growing down into the reservoir. When on most plants are exposed to air, they root prune and stop growing.
I found some examples of how to create a SIP (Sub-Irrigated Planter) and decided to experiment with growing some tomato plants in the single buckets I had been using and growing some of the same varieties in some sub-irrigated buckets. I started with about 2 each of several different tomato varieties and planted 1 set in the single buckets. I had to go out of town so wasn’t able to plant the second set of tomato plants in the sub-irrigated buckets until two weeks later. I snapped a photo of both sets of buckets after I finished planting the second set of plants on April 24, 2018. In that photo, the single bucket tomato plants had a two week head start growing in their larger container so they where now about 6″ taller that the plants I planted in the sub-irrigated buckets. On May 22, 2018, I took another photo, and the difference in the size and vigor of the two set of plants was amazing! The benefits of the new sub-irrigated buckets were:
1) Solved the issues of ants colonizing my buckets as there were no holes on the bottom of the reservoir bucket allowing the ants to enter the bucket. If they tried to enter the bucket through the overflow holes on the sides of the bucket, they were washed out when I filled the reservoir.
2) The soil in the buckets stayed consistently moist but not too moist due to the wicking of the water up from the reservoir. This eliminated the issue of cracks in the tomatoes.
3) It took much less time and water to water the plants. The single buckets took several minutes each day to re-moisten the soil that had dried out and most of it ran out on the ground, I could go up to about 3-5 days between watering if necessary because water remained in the reservoir wicking up slowly through the bucket. I usually topped off the reservoir every 1-2 days and only took about 30 seconds or less to fill. I also knew immediately when the reservoir was full as I could watch the overflow holes and stop watering as soon as water started to trickle out the holes.
4) My plants were much healthier and required less fertilization because the nutrients didn’t wash out onto the ground like what was happening when I had to water the single buckets. If we got some rain, the nutrient would flow into the reservoir and would be wicked back up to through the soil.
I have attached the two photos I took showing the progression of my experiment in about 30 days and a pdf file of the instructions on how to build your own SIP. I had some of the cherry tomato plants still producing into winter and moved the buckets into my greenhouse and was still getting a handful of tomatoes the following January.
The other issue is that we have heavy clay soil and still battle fire ants anytime we plant directly in the ground so we mainly grow in raised beds or the SIPs. We now have 220+ SIPs in our garden right and will be adding another 100 sets for this fall. We grow tomatoes, pepper, cucumbers, summer squash, cabbage, broccoli, cauliflower, peas. We use 42″ tomato cages in the buckets for any plants that need support, they fit the buckets really well. We also now use drip irrigation on a timer to water the buckets as hand watering that many buckets became an issue.
-
Note: on the pdf file on SIPs, you have to click download it for it to display.
-

Your garden photos are beautiful. Your hard work has paid off. Showed this to my hubby. Thank you for providing a solution to a problem I had.
Log in to reply.